Nintendo Wi-Fi Connection
Nintendo Wi-Fi Connection was an online multiplayer gaming service for the Wii, allowing free online play. While different games were supported for longer than others, all games are no longer able to play through conventional means as of August 2023. To regain Nintendo WFC functionality, this guide provides instructions on installing Wiimmfi. There are several different methods to connect to Wiimmfi listed in order of least to greatest difficulty - choose the method that suits your situation best.
If you get error 23904 while connecting to Wiimmfi, then you are using an outdated patch.
Follow the steps below for the method you’re using to connect to Wiimmfi again.
See this page for more details.
Automatic Disc Patching via Priiloader
If the Wiimmfi Patch displays as anything other than v4, you do not have the latest version of the hacks_hash.ini file and the patch will not work. You must reinstall Priiloader, the guide to which can be found in the requirements section.
A method for Wiimmfi patching which runs on retail disc games automatically via the Disc Channel.
Requirements
- A Wii with an internet connection, on System Menu version 4.3
- Priiloader 0.9 or later
Instructions
- Hold the RESET button while turning on your Wii. If you are using a Wii mini, plug in a USB keyboard and hold Escape while turning it ON.
-
You should see the Priiloader menu.
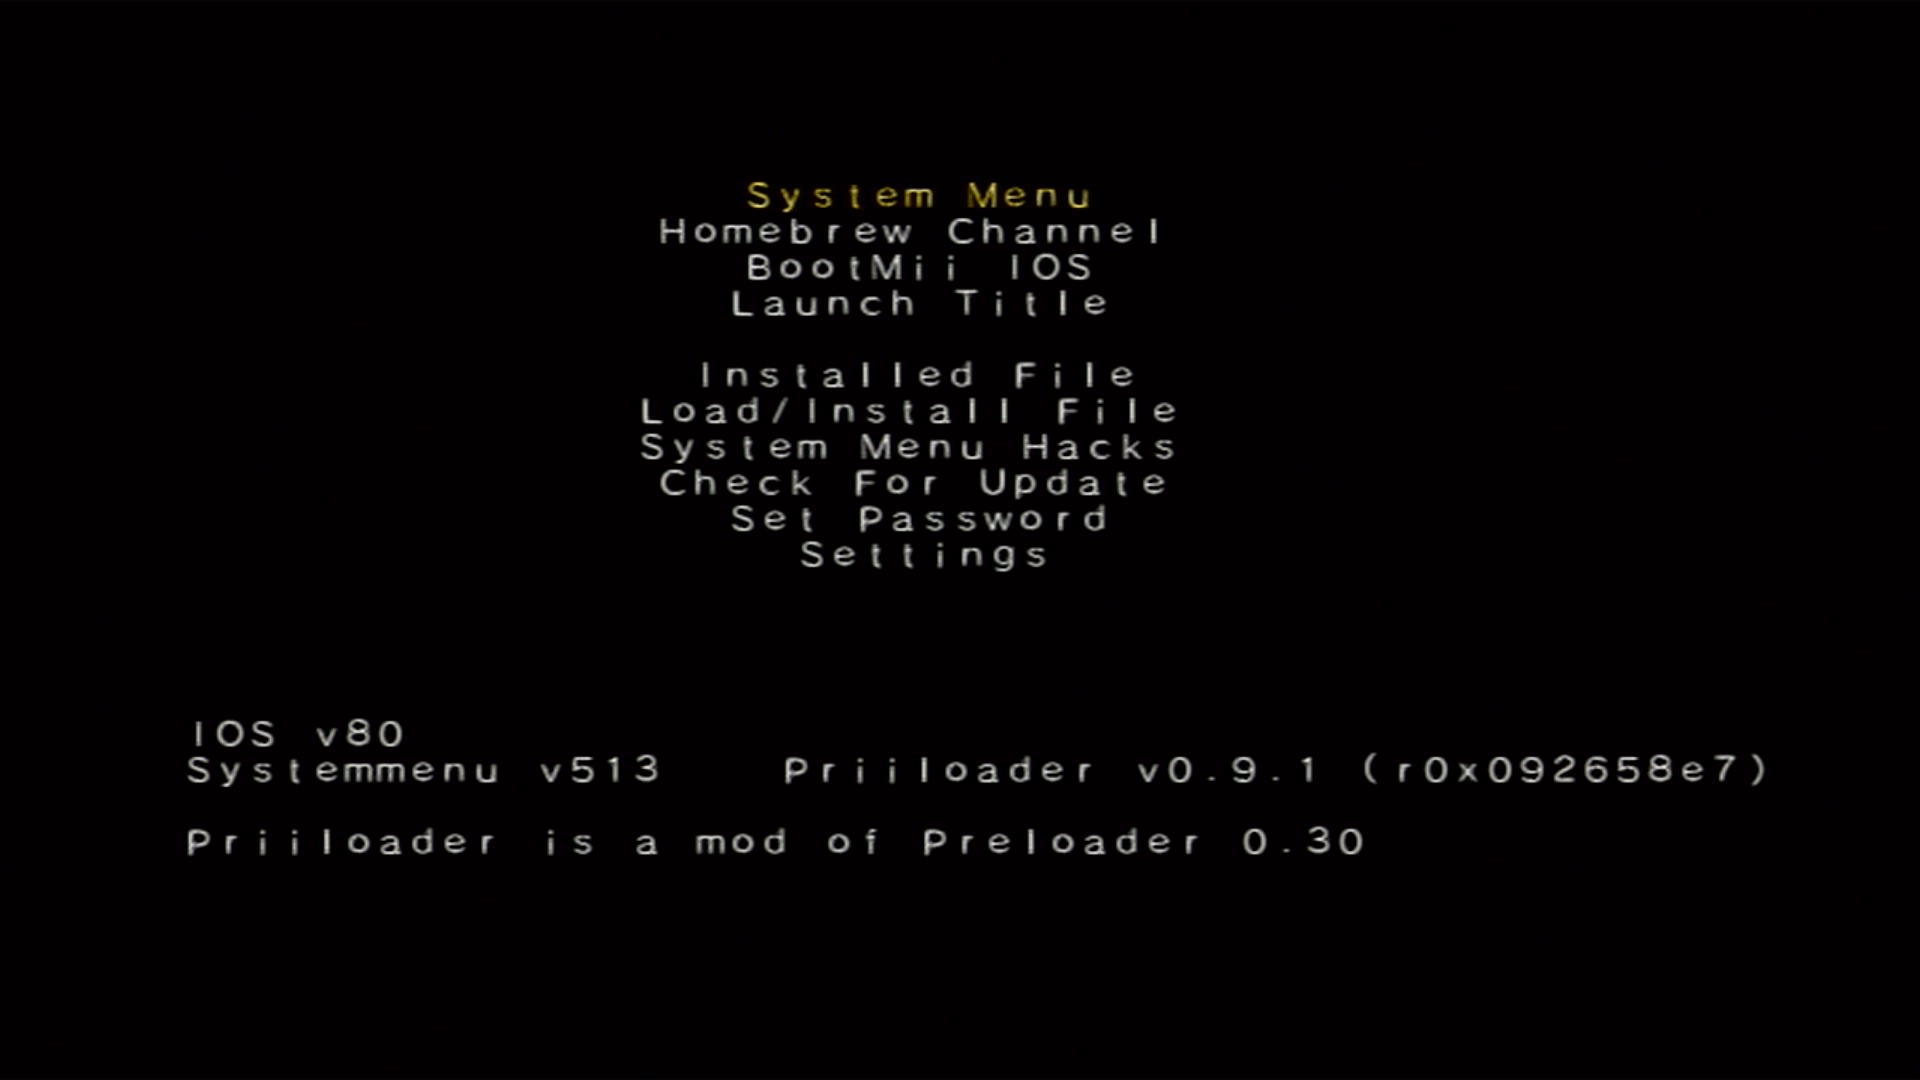
- Go to
System Menu Hacks. If you used a USB drive to install Priiloader, make sure you do not have an SD card inserted at the same time. This will cause Priiloader to be unable to find the hacks_hash.ini file. -
Make sure the
Wiimmfi patch v4hack is enabled.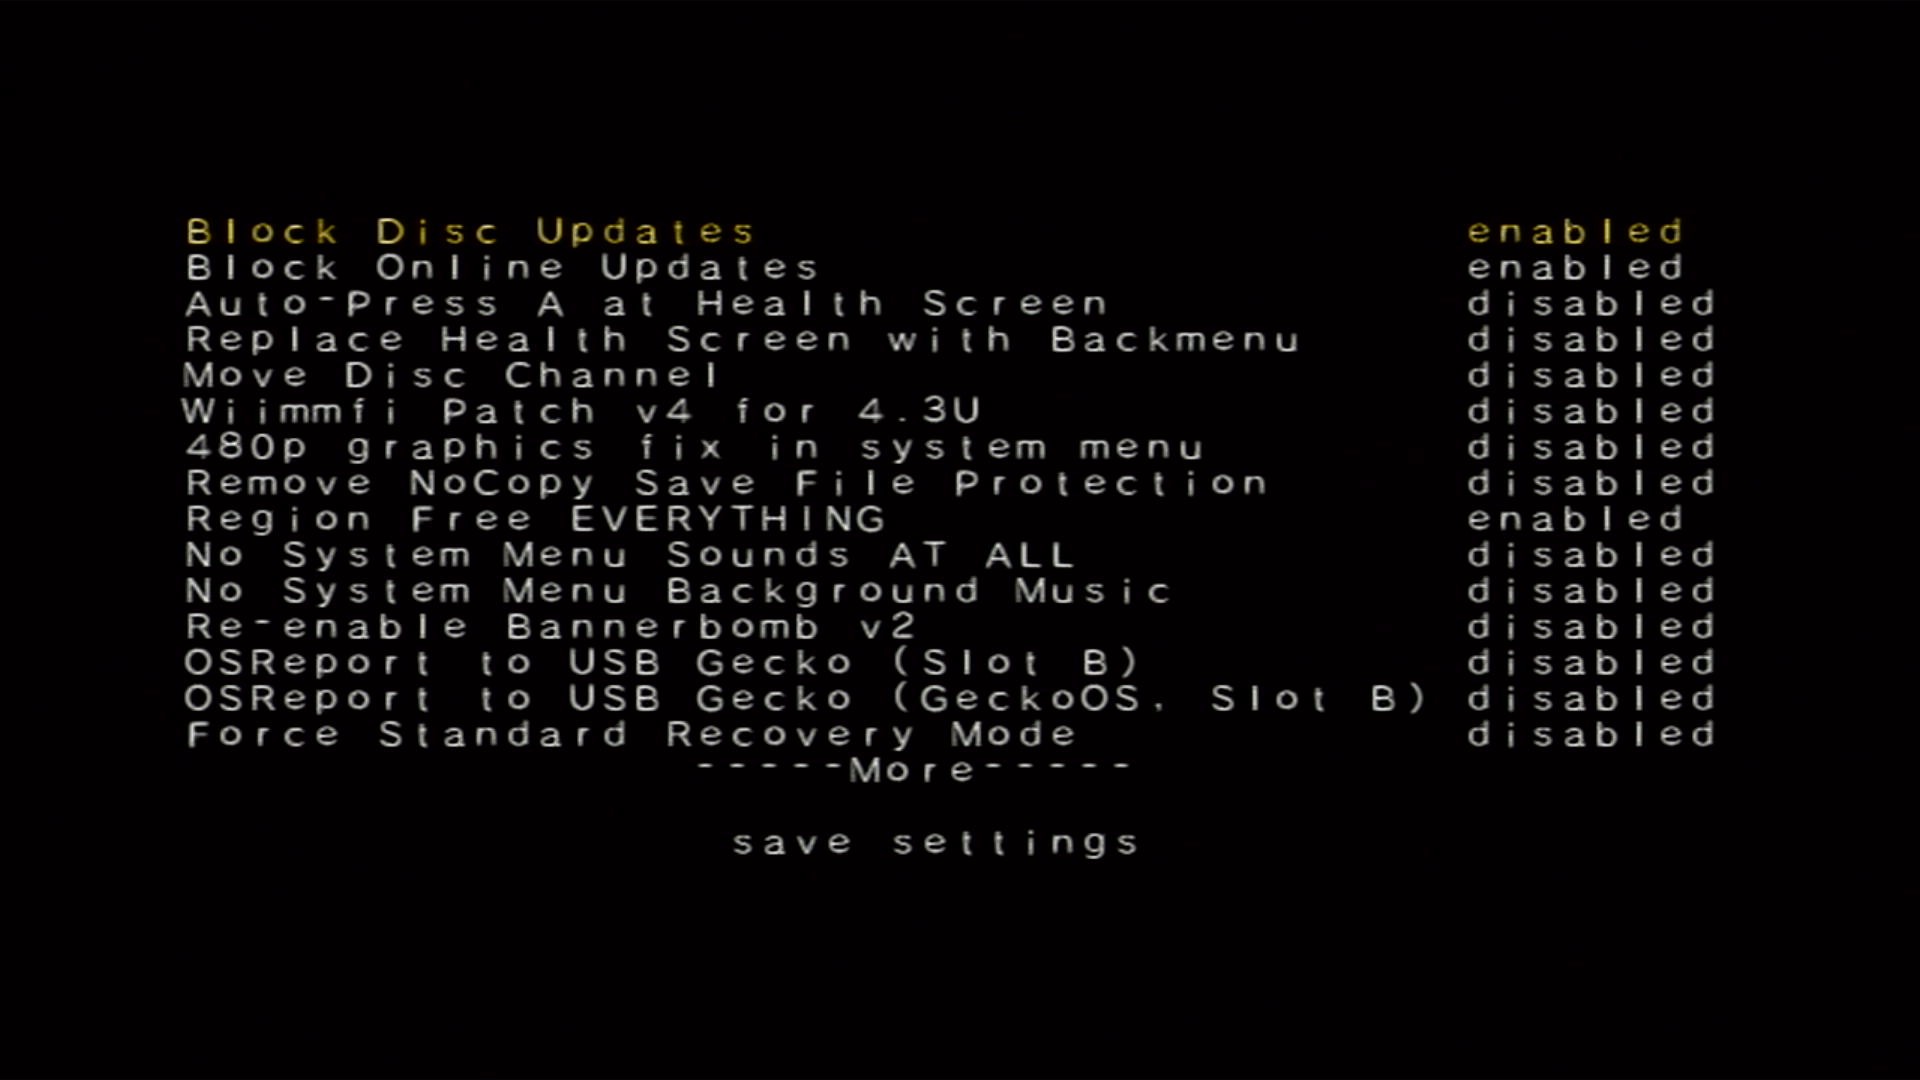
- Scroll to
Save Settingsand save your changes. - Return to the main menu, and press
System Menuto return to the Wii Menu. - Launch your game through the Disc Channel - it should now be patched with Wiimmfi.
Automatic Backup Patching via USB Loader
A method for Wiimmfi patching which automatically patches game backups in the latest versions of USB Loader GX or WiiFlow Lite.
Requirements
- A Wii with an internet connection
- USB Loader GX or WiiFlow Lite
Instructions
- Open the game or global settings for your specific USB loader and search for the
Private Serveroption. By default, it will be set toOff. - Set the option to
Wiimmfiand save the settings. By default, games should now be automatically patched for Wiimmfi.
Automatic Disc Patching via Custom DNS
A method for Wiimmfi patching which runs on retail game discs automatically through the usage of a custom DNS server. While convinient, it only works with a small selection of games including Mario Kart Wii and SSBB. Due to the nature of this process, it can be run on Wiis without homebrew.
If you get error 20100 or 20110, the game you are trying to play is not supported by this method.
If you get error 23400, your ISP or network is blocking the use of a custom DNS.
To solve this issue, Wiimmfi has a custom DNS server that can be ran on your PC - you can read about it here.
Requirements
- A Wii with an internet connection
Instructions
- Go to
Wii Settings > Internet > Connection Settingsand select whatever connection you are using. Then,Change Settings > Auto-Obtain DNS NO > Advanced Settings. Set your primary DNS to95.217.77.181, and your secondary DNS to1.1.1.1. - Let the connection test finish, and do not perform a Wii System Update.
- Launch your game through the Disc Channel - it should now be patched with Wiimmfi.
Manual Disc Patching via Homebrew Channel
A method for Wiimmfi patching which runs on retail disc games, but must be manually launched via the Homebrew Channel.
Requirements
- An SD card or USB drive
- Auto Wiimmfi Patcher
Instructions
- Simply extract the
appsfolder in this archive to the root of your SD card or USB drive. - Insert your SD Card into your Wii, and launch Auto Wiimmfi Patcher from the Homebrew Channel.
- Insert the game disc (if it is not already inserted), wait for the patch to complete, and the game should start.
Manual Disc Patching via EULA User Agreement
A method for Wiimmfi patching which runs on retail game discs, but must be manually launched via the EULA User Agreement (derives from str2hax). Due to the nature of this process, it can be ran on Wiis without homebrew.
Requirements
- A Wii with an internet connection
Instructions
- Insert your game disc.
-
Go to
Wii Settings > Internet > Connection Settingsand select whatever connection you are using. Then,Change Settings > Auto-Obtain DNS NO > Advanced Settings. Set your primary DNS to95.217.77.151, and your secondary DNS to1.1.1.1.
- Let the connection test finish, and do not perform a Wii System Update.
- Go back twice to
Internet, and pressUser Agreements. Then, confirm that you would like to use WC24 and the Wii Shop Channel. - The Wiimmfi patcher page should now display. If it doesn’t, and you still see the default license agreement, your router might not be compatible with this method.
- Wait a while for the patcher to load (usually about 1.5 minutes) and the inserted game should boot with a Wiimmfi patch.
Manual Disc Patching via Internet Channel
If you run into UPnP-related issues (such as the patcher getting stuch at “Init network…” or “add UPnP port forward” steps for more than 10 seconds), you can press the - button on your Wii Remote, or the Y button on your GameCube controller as soon as the patcher loads to circumvent this.
A method for Wiimmfi patching which runs on retail game discs, but must be manually launched via the Internet Channel (derives from Flashhax). Due to the nature of this process, it can be ran on Wiis without homebrew. This method is generally more reliable, and is recommended instead.
Requirements
- A Wii with an internet connection, running in 60Hz mode
- The Internet Channel
Instructions
- Open the following webpage in the Internet Channel:
http://chadsoft.co.uk/wiimmfi - Add the page to the browser favorites by clicking the Star icon, then the
Add Favoritebutton. - Exit back to the Wii Menu.
- Open the Internet Channel again and access the favorite you just made.
- The Wiimmfi patcher should begin. Be patient, as Flashhax can be very unreliable - it may take several tries to get right.
Manual WiiWare Patching via PC
A method for Wiimmfi patching which runs on WiiWare games, but must be manually run on a PC via a script.
Requirements
- An SD card
- Your copy of your game (in WAD format)
- WiiWare Patcher (cross platform)
- YAWM ModMii Edition
If you want to see how to use the WiiWare Patcher, click here!
Instructions
- Extract the .zip of the latest version of WiiWare Patcher, and put your WAD in it.
- Run the patch script for your OS: usually it will end in
.batfor Windows and.shfor Mac/Linux. If you’re using the RiiConnect24 Patcher, select your device (Wii, vWii, or Dolphin) and choose the WiiWare patcher. - If it completed successfully, install the WAD that was made in
wiiware-wadswith YAWM ModMii Edition.
Manual Disc Image Patching via PC
A method for Wiimmfi patching which runs on game disc images, but must be manually run on a PC via a script.
Requirements
- A Linux/macOS/Windows PC with an internet connection
- A copy of the game you want to patch - supported formats are
ISO,WDF,WIA,CISO (=WBI),WBFS,GCZ, andFST-NKITis NOT supported - Wiimmfi ISO Patcher
Instructions
- Download the patcher and extract the
.zipfile. - Open the extracted folder and copy your Wii game images into it.
- If you’re on Windows, double-click the
patch-images.batfile (this may also be displayed as “patch-images” Batch File). If you run into Cygwin-related issues, try thepatch-images-32.batfile instead. - If you’re on MacOS, open a command line prompt in the current folder, make the shell script executable through the command
chmod +x *.shand then execute./patch-images.sh. - If you’re on Linux, double-click the
patch-images.desktopfile (this may also be displayed as “Patch Images”) or execute the./patch-images.shfile in a terminal after making it executable through the commandchmod +x *.sh.
- If you’re on Windows, double-click the
- If the above was successful, you should see a window pop-up that displays the patching process. Once the process finishes, you will find the patched images in a folder called
wiimmfi-images.
Congrats on making it to the end of the optional section of the main guide! You can go to the site index below if you would like to look for other guides.