BootMii Backup
BootMii allows for backing up and restoring your Wii’s NAND storage. This page will guide you in backing up your Wii’s NAND to an SD Card, which you can then use however you like.
You need an SD card to use BootMii at all, but especially to create a NAND backup. If you do not have an SD card on hand right now, you can skip this page, but it is HIGHLY RECOMMENDED to return to this page later to back up your NAND.
Requirements
- An SD card with a minimum 512MB of free space (1GB or more recommended)
Instructions
If you have BootMii installed as boot2, you will need to launch BootMii by restarting the console. Skip steps 1 and 2 if this is the case.
- Power on your console.
- Launch the Homebrew Channel.
-
Press the HOME Button, then select “Launch BootMii”.
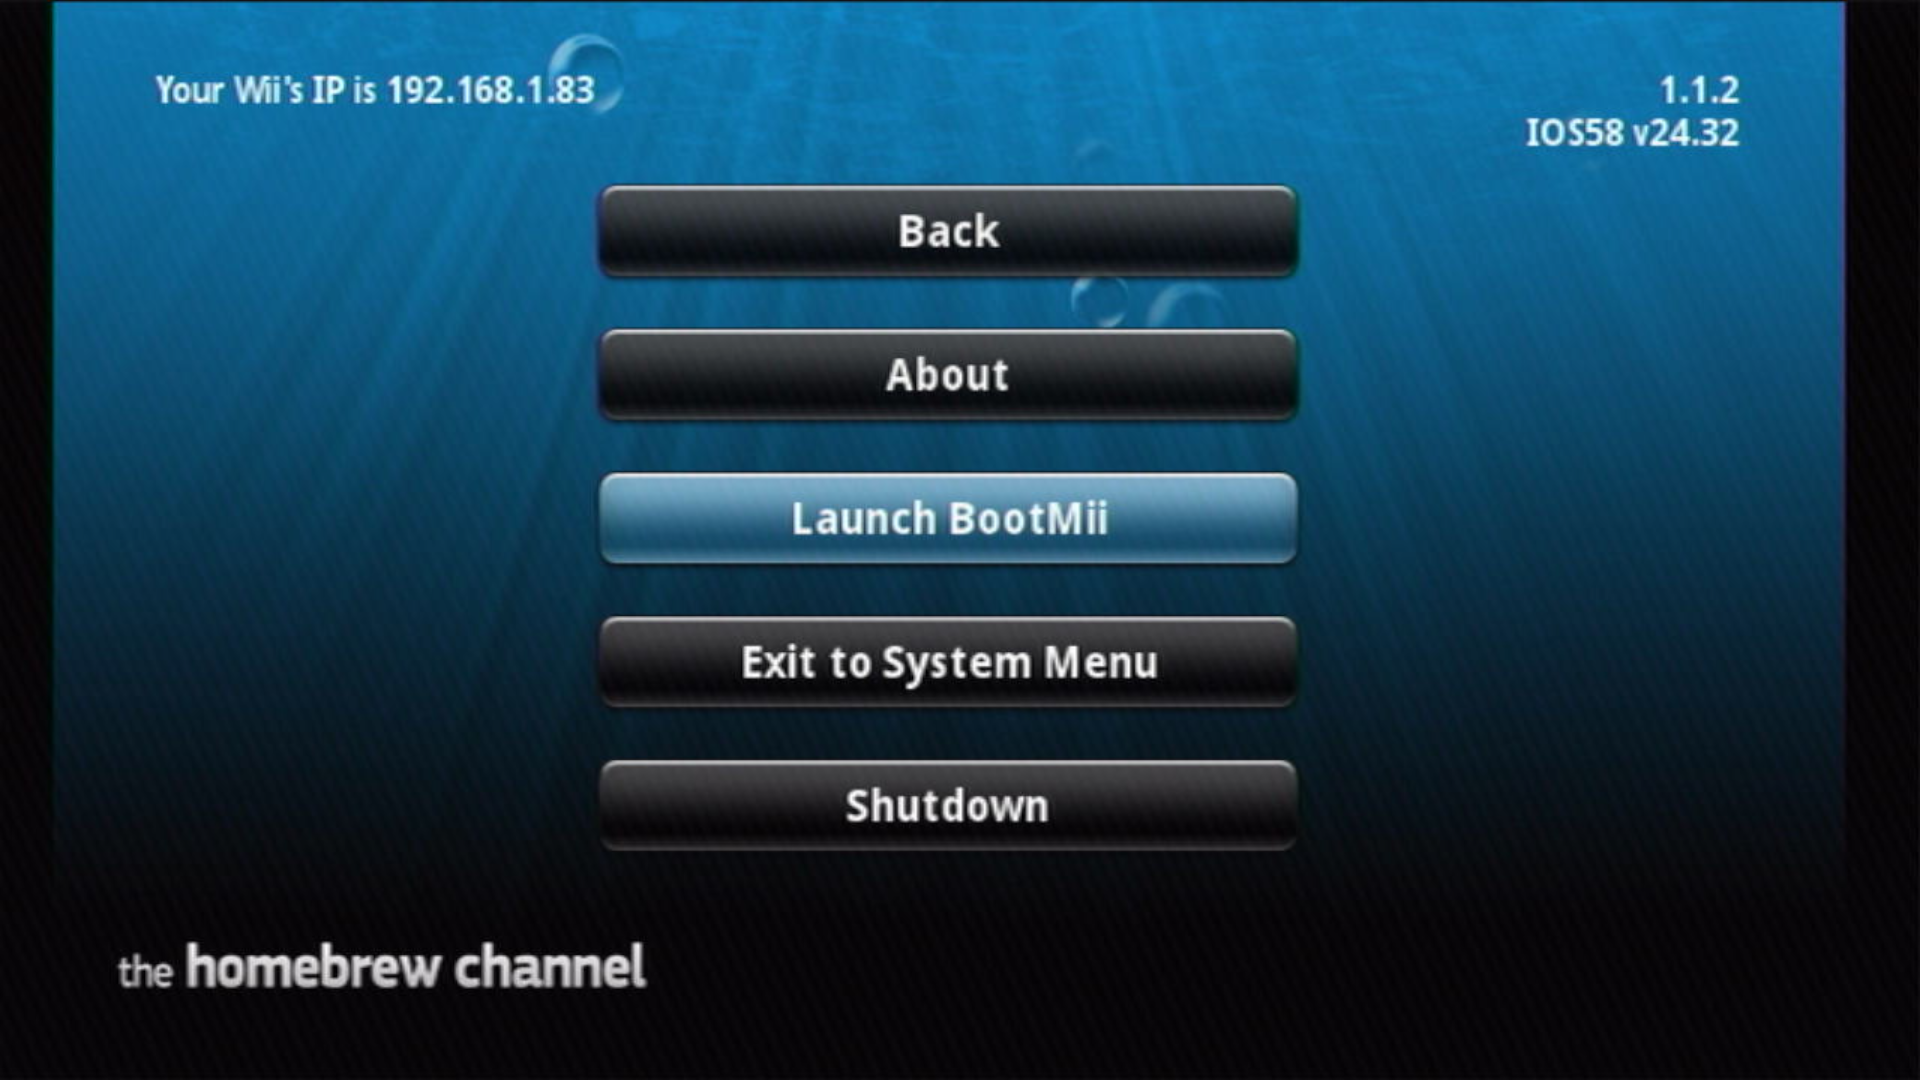
If the
Launch BootMiibutton does not appear in the Homebrew Channel, re-launch the HackMii Installer and install BootMii.If the screen stays black and the blue disc drive light is blinking upon launching BootMii, you are missing the BootMii files on your SD card. Download this zip file and extract it to the root of your SD card, then try again.
-
You should see an image similar to the below now on your screen:
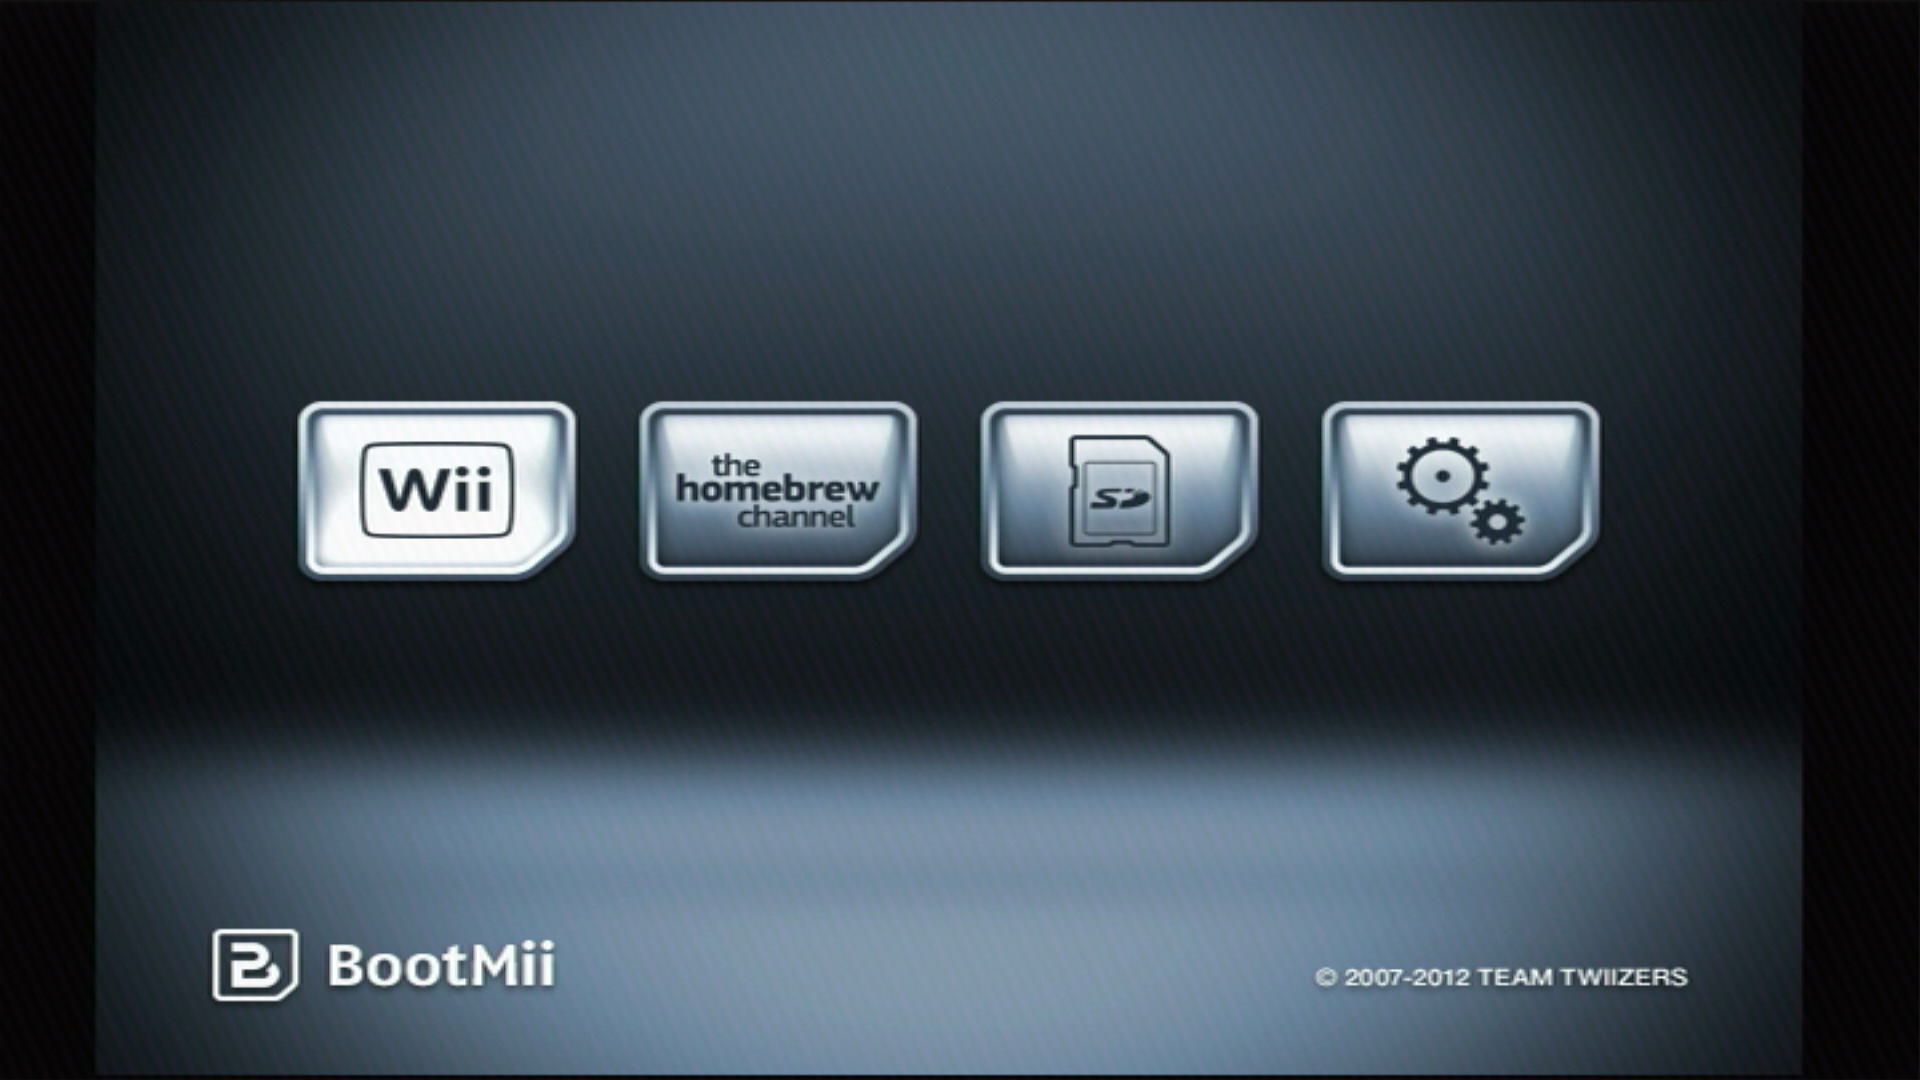
Navigating BootMii is not possible using a Wii Remote. You must use the POWER and RESET buttons on your console, or a GameCube controller plugged into port 1. To navigate between options, press POWER. To select an option, press RESET.
-
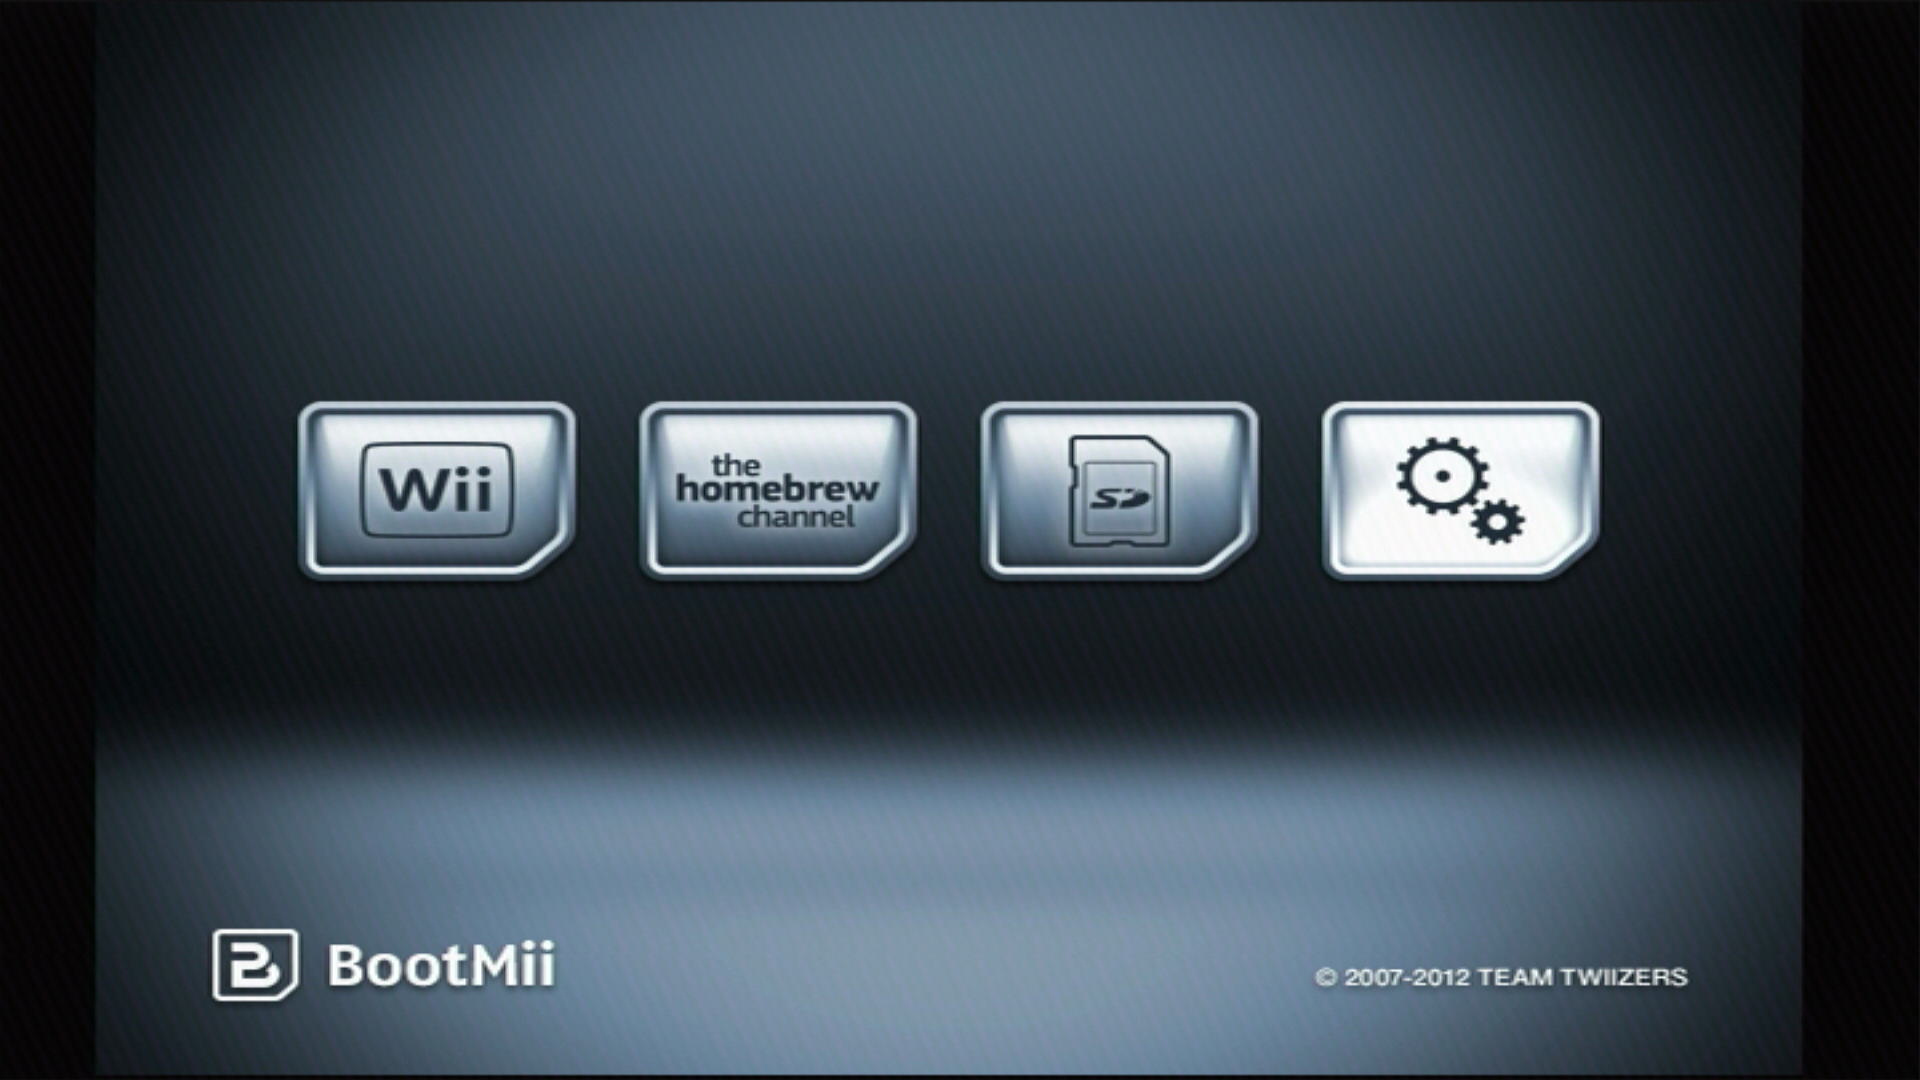
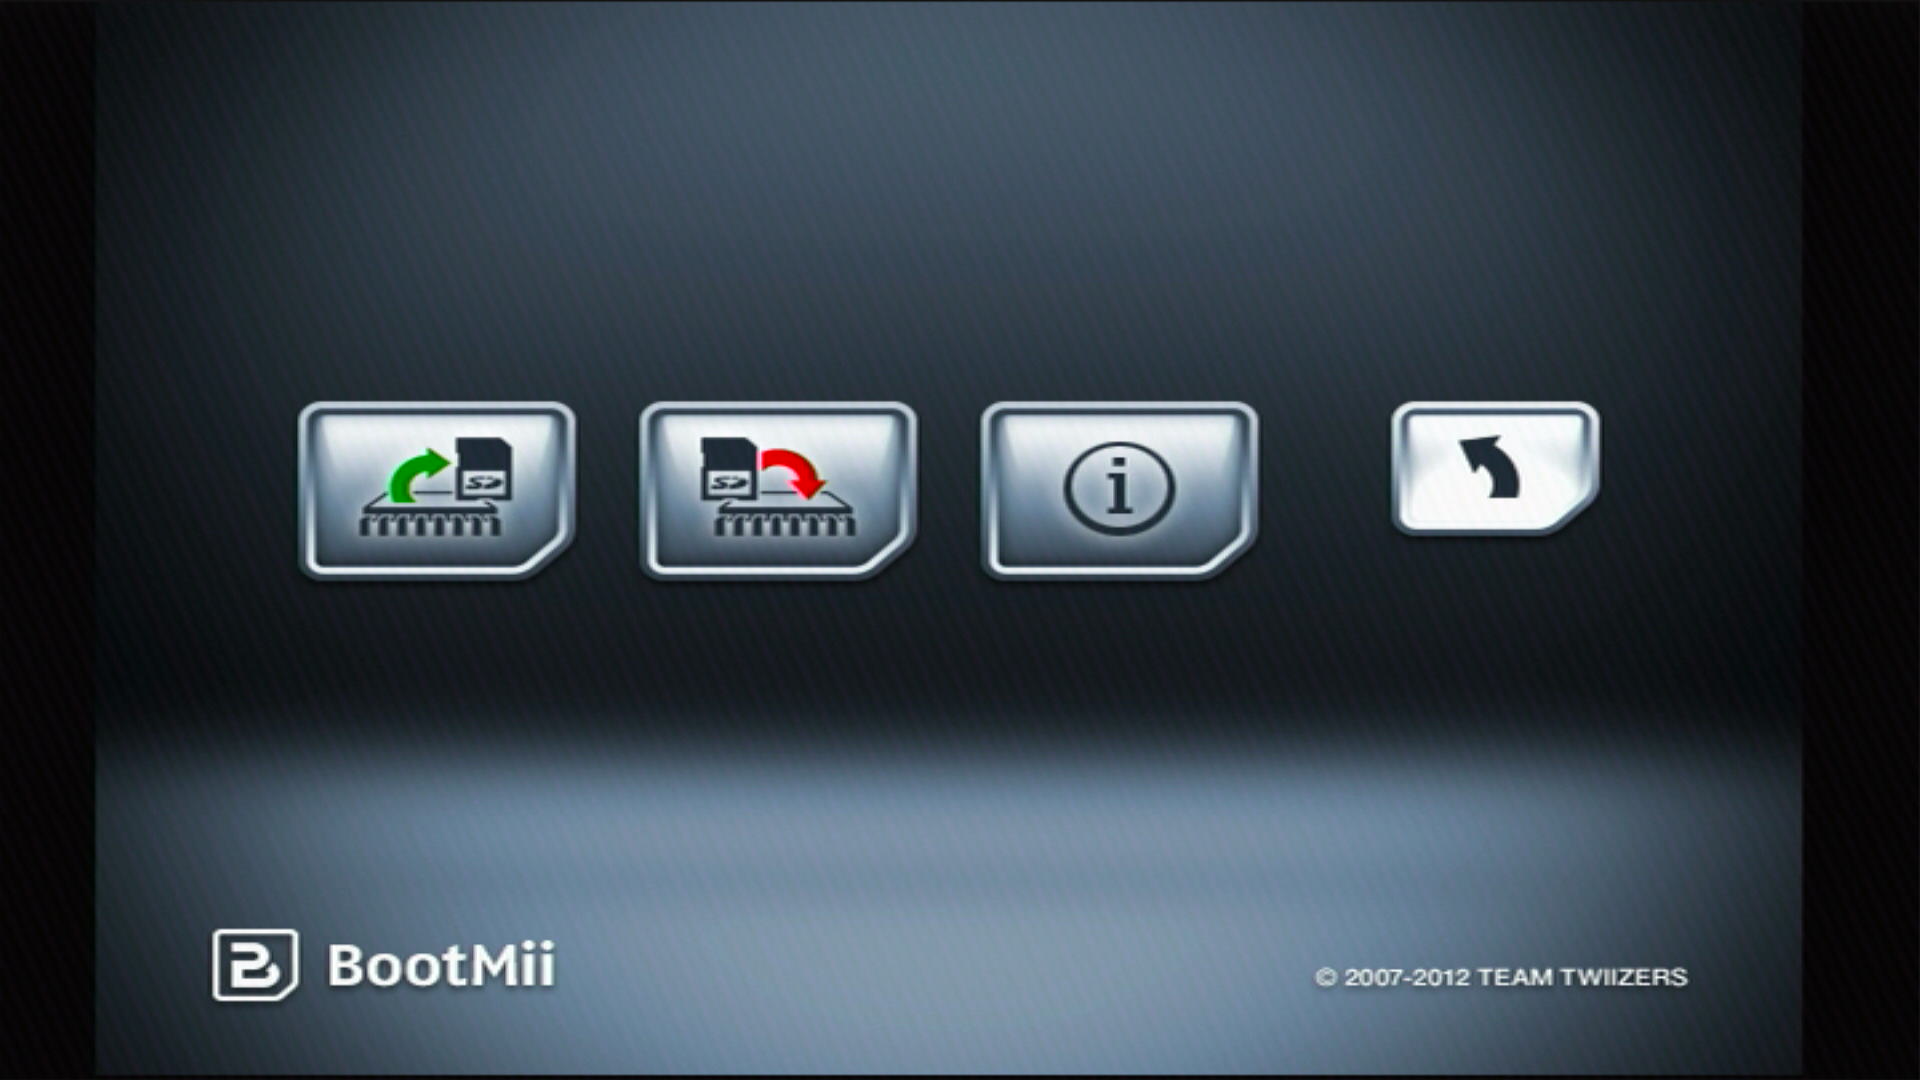
Select the Options button (the icon with the gears).
-
Select the first button to the left.
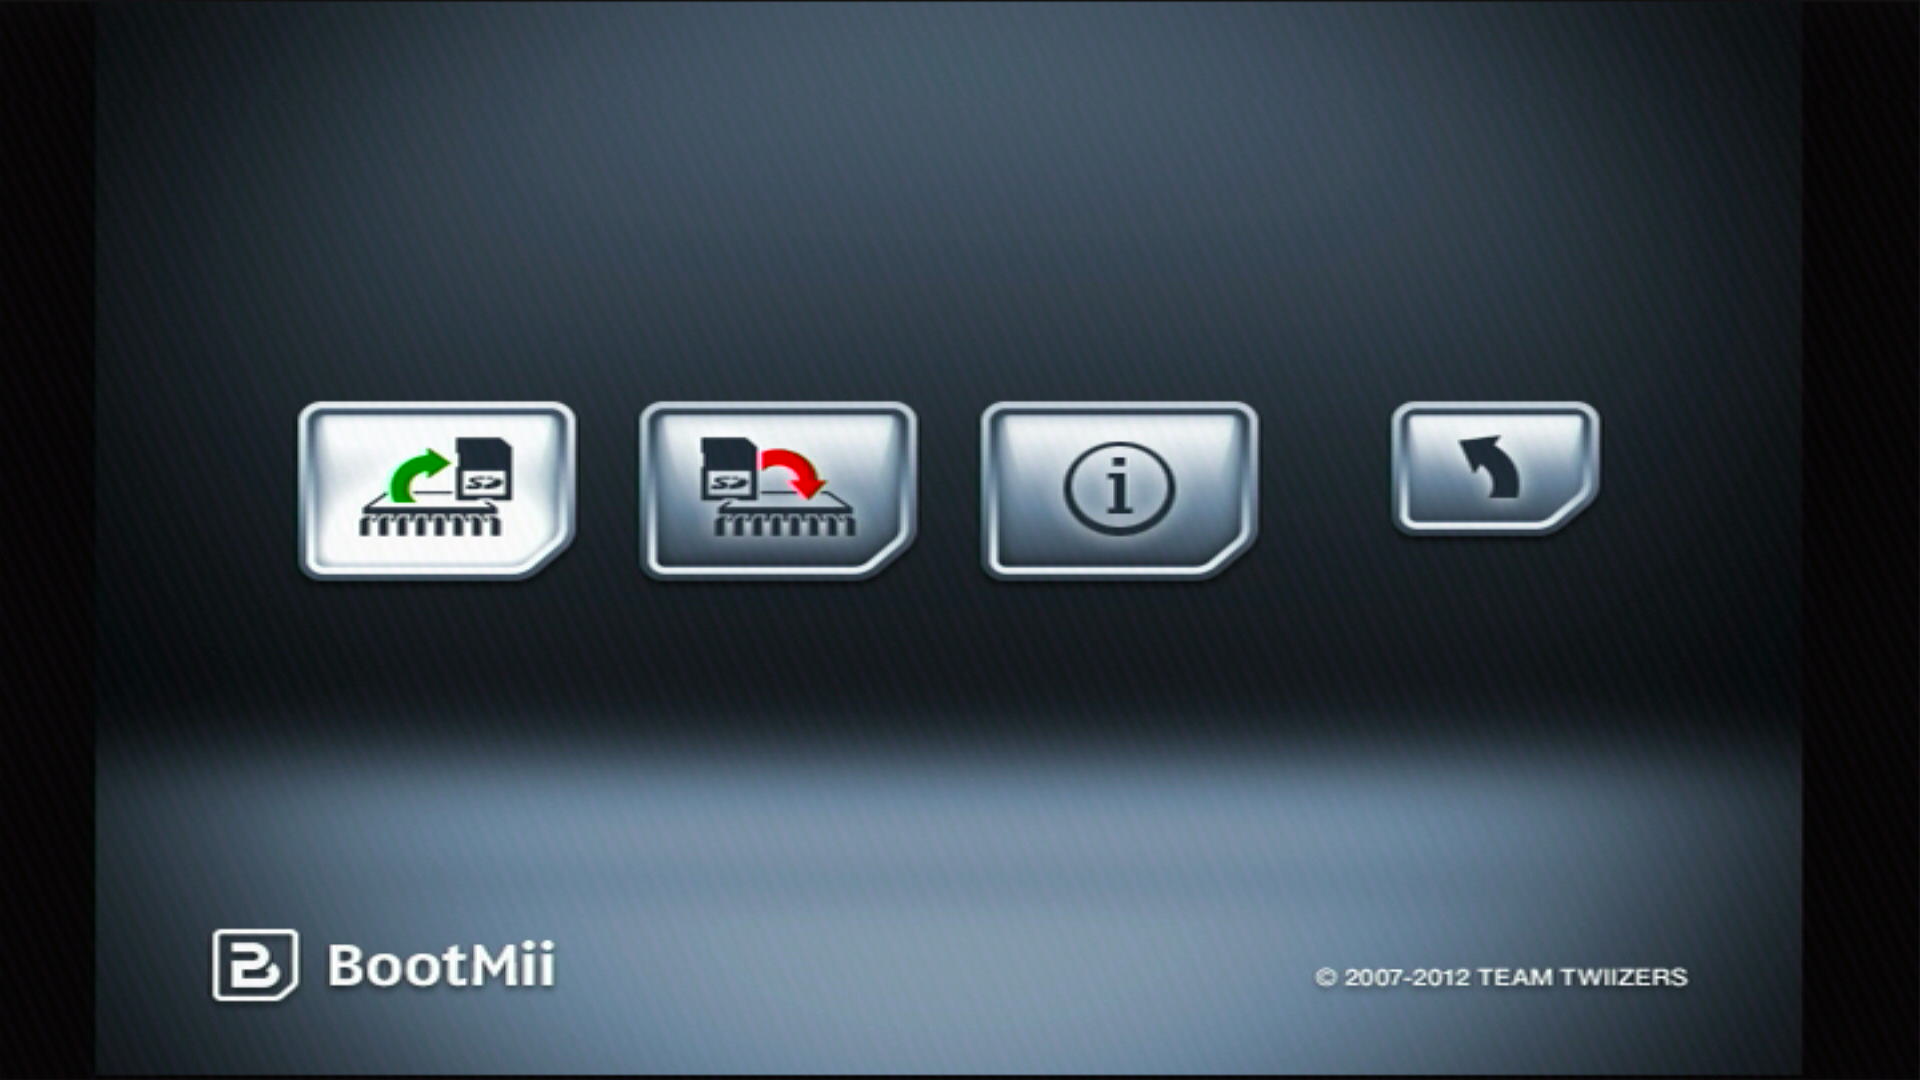
- A NAND backup will start. You can watch the progress on the screen.
- “Bad Blocks” are normal, and mostly originate from the factory due to NAND binning. Don’t worry when you see some on a NAND backup.
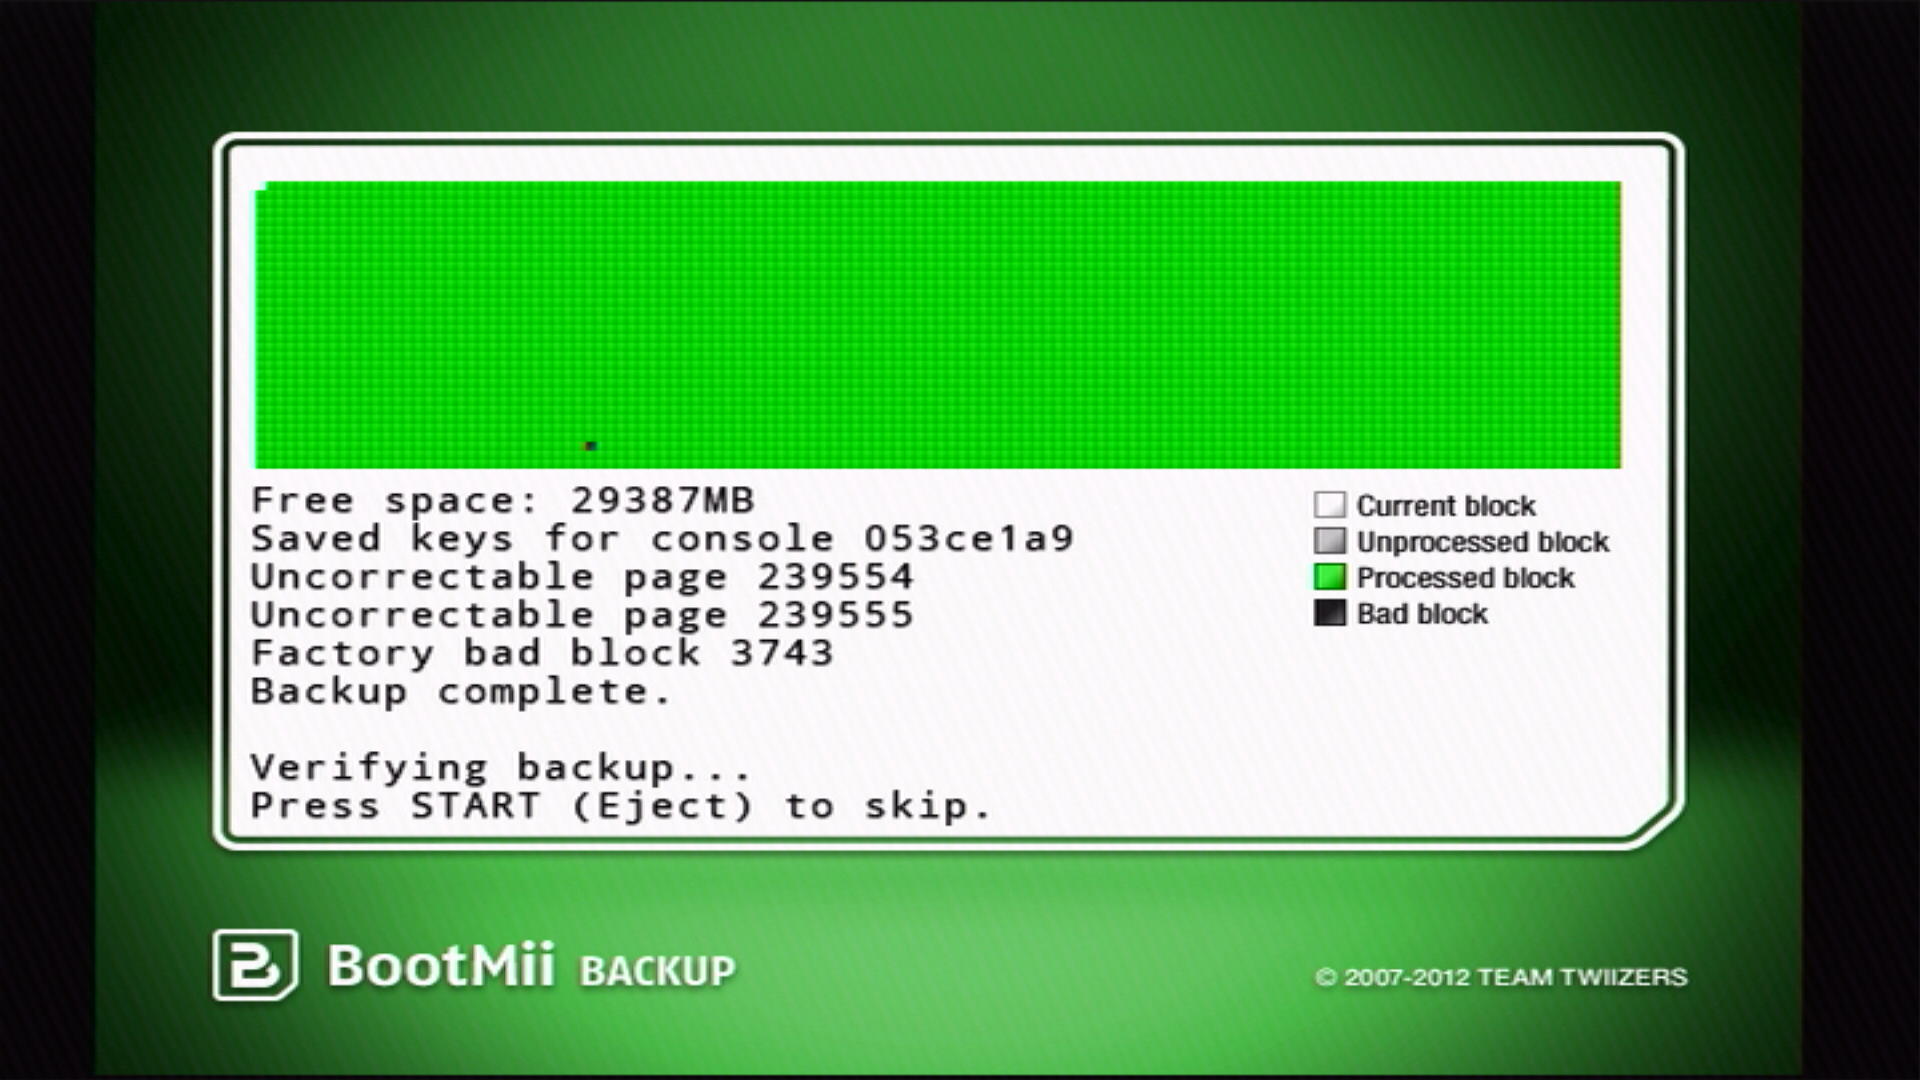
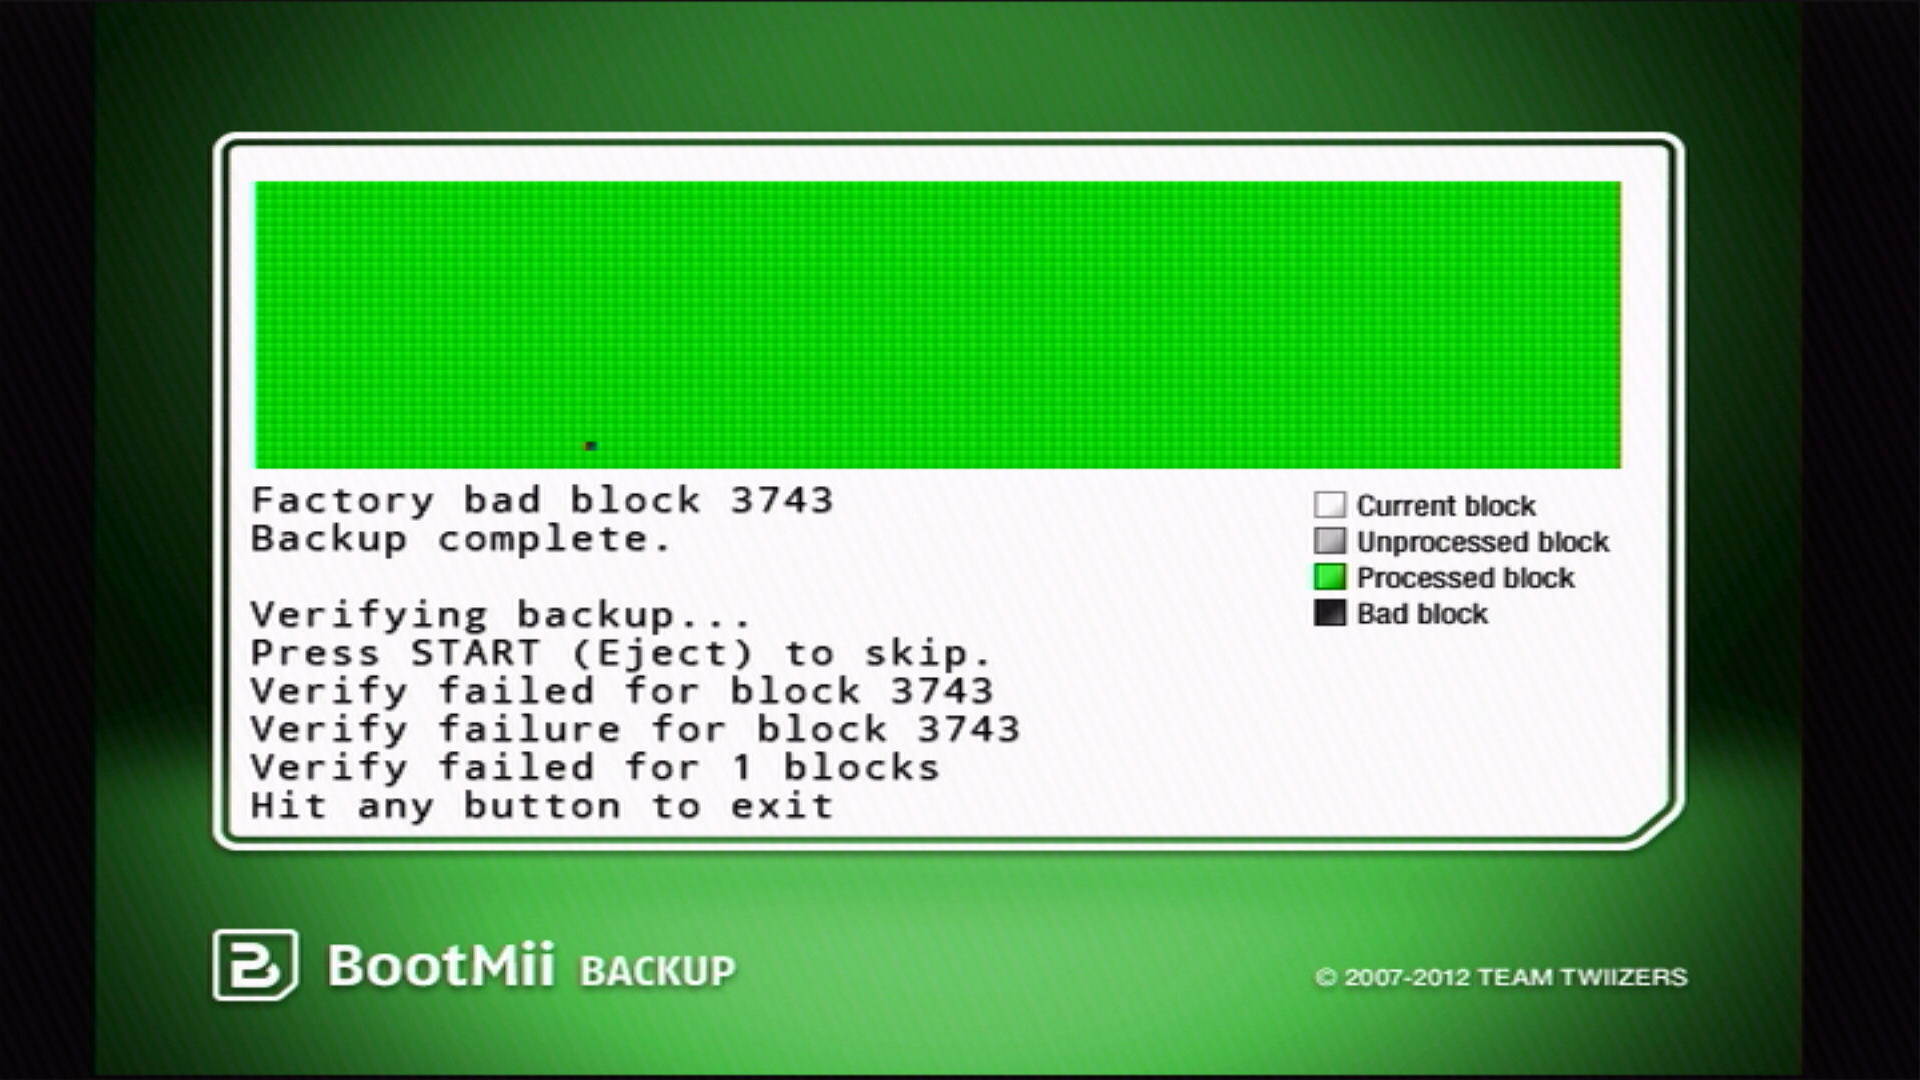
- After the previous step completes, BootMii will verify the backup. Ideally, all the blocks should be green after the verification process.
- If you have factory bad blocks with uncorrectable pages, these blocks may fail to verify. As long all non-bad blocks are successfully verified, this should be fine.
-
Press the Back button (the one with an arrow), then press either the Wii Menu button or the Homebrew Channel button to exit BootMii.
Note: restoring a NAND backup is usually a last resort. There are often better ways to unbrick your console.
Try your best to identify your brick condition and reverse the action that caused it in the first place.
To restore from a NAND backup on your SD card, you can follow the instructions for RestoreMii. Family edition Wiis (Wiis without GameCube ports) CANNOT restore NAND backups without hardware modification.
Two files will have been created on the root of your SD Card: nand.bin and keys.bin. nand.bin is a backup of your console’s internal memory, while keys.bin are your console’s keys.
Autobooting
If you were able to install BootMii as boot2, but dont want to load the BootMii screen every time you turn on the Wii, you have the option of setting it to autoboot to the system menu. This should make it so you don’t even notice you have BootMii installed as boot2.
- Open
SD:/bootmii/bootmii.iniwith a text editor, such as notepad. - Change
#AUTOBOOT=SYSMENUtoAUTOBOOT=SYSMENUby deleting the#. - Then change
#BOOTDELAY=5toBOOTDELAY=1by deleting the#and turning the5into a1. - Save the file and exit.
You can also use the BootMii Config Editor app on the Wii to change these settings.
Continue to Priiloader Installation
Priiloader adds a secondary level of brick protection, and is highly recommended even if BootMii was installed as boot2. It is especially important for users of BootMii on IOS.